Heat a room for $0.32/day!

In Utah I discovered how costly it is to over use an electric space heater. I got a surprisingly high utility bill and when I called to investigate the worker let me know about people's common misconception of thinking a space heater will save them money.
But what other options do you have when you just need a little extra heat in some rooms more than others? Lots of houses like mine heat unevenly throughout and I don't want to spend more by turning the thermostat up more everywhere.
I researched portable fire place options. They were all so pretty and not too expensive. But since most were electric and the town I live in is known for winter blackouts, I figured it wouldn't be that great of a buy since I'd still freeze if the power goes out.
That's why this idea works great for me- a DIY Terra Cotta Clay Pot Space Heater. It's super super simple to assemble, really cheap, portable, works in a black out, and heats great!
What you need:
1 small Terra Cotta Clay pot
1 medium Terra Cotta Clay pot
(I bought my two pots from Walmart in the garden section on clearance for $1.75 and $2.25. The size isn't so important as long as one is just slightly larger than the other. There should be pre-drilled holes in the bottom of each pot)
4 Tea Lights.
(I bought a pack of 100 for $3.99 at Ikea. Here's the link to them: 100 count Glimma Tea Lights)
Lighter or Matches
Bread tin or other heat resistance container.
(A bread loaf pan works great because it spaces out the candles to distribute the heat under both of the pots.)


How to Assemble:
1.) I started out with a small towel just for added protection on my table. Then put loaf pan on top.
2.) Place 4 tea light candles in a line inside loaf pan.
3.) Light candles
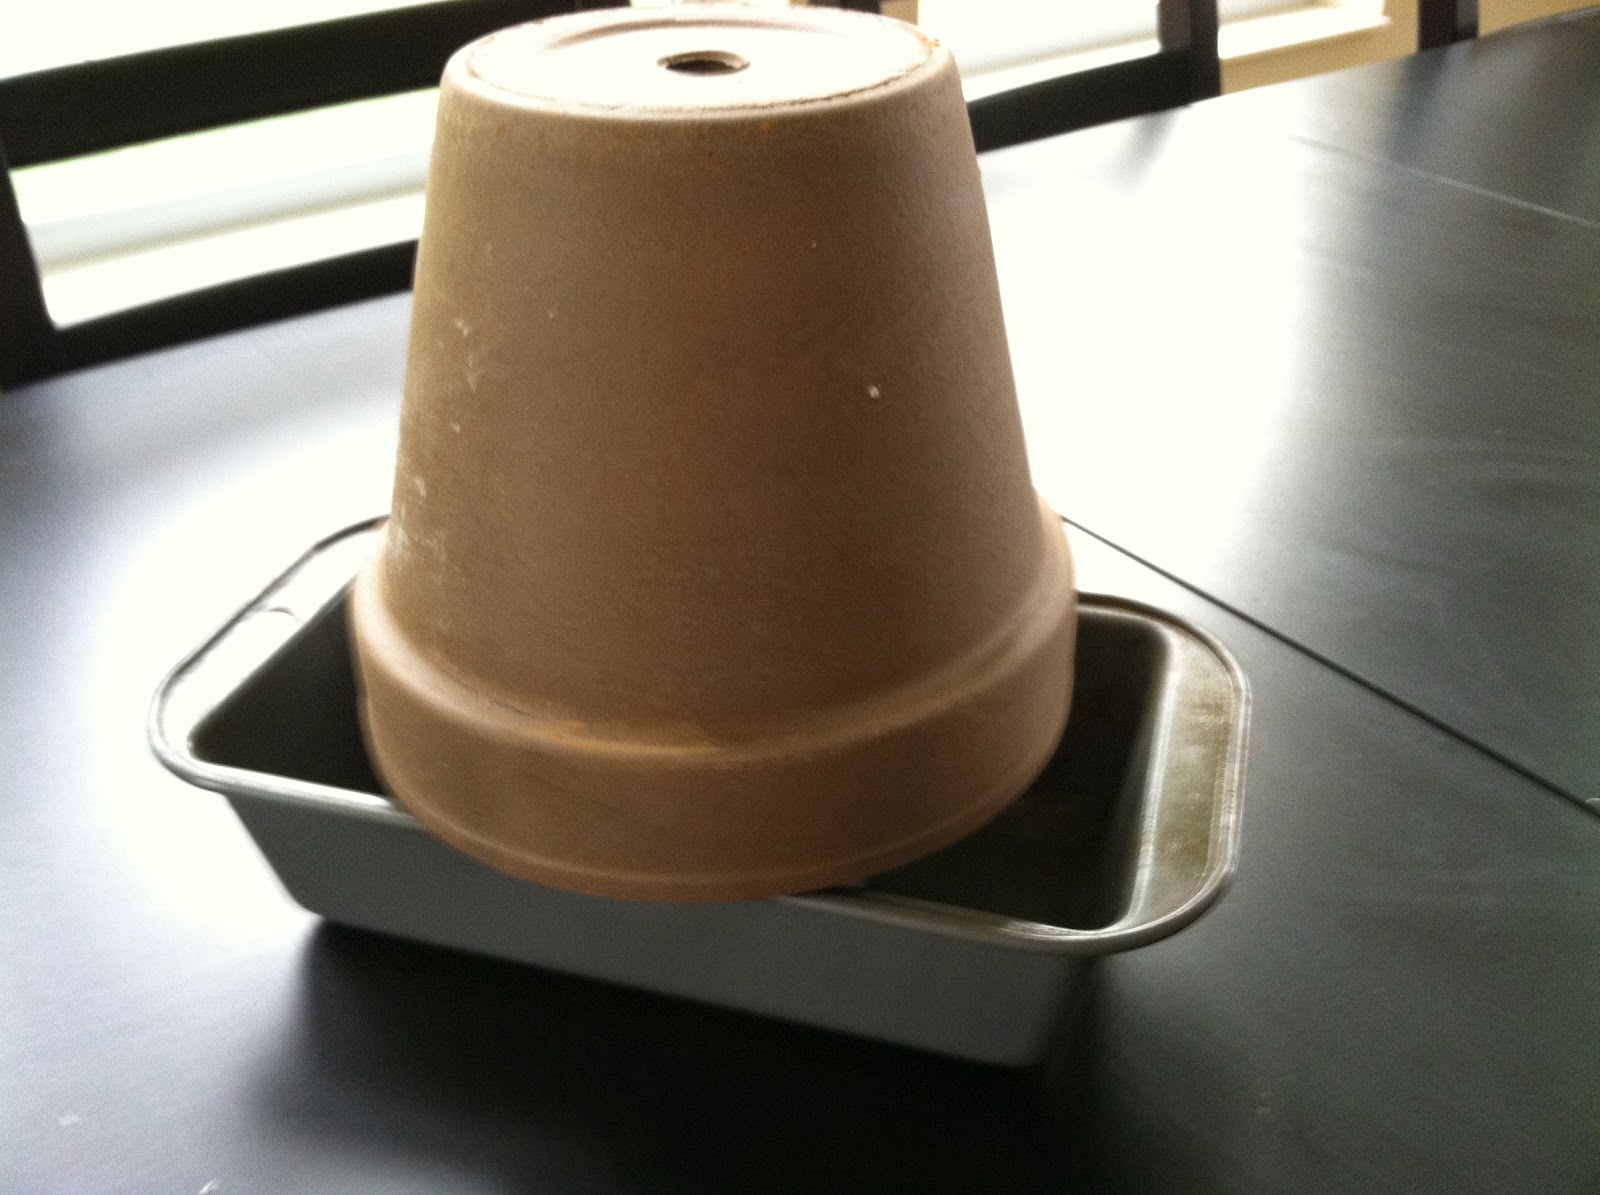
4.) Set smaller of two clay pots upside down on top of loaf pan.
5.) Cover the pre-drilled hole of this smaller pot with something metal (like an outer casing from an old tea light or the center from a canning lid.)
6.) Stack larger pot on top of small pot. There should be gaps to let heat rise up and escape from edges of loaf pan as well as up through uncovered hole of the larger pot.


How it works:
Basically you're creating a convection oven on top of your table! The candles heat up the air and it rises mostly into the space of the small pot creating a super hot inner core. A convection of air is created between the space of the two pots as the cold air circulates to the bottom and the hot air rises until it escapes out the top of the large pot and through the gaps left uncovered on the sides of the loaf pan.Cost:
I bought a pack of 100 tea lights for $3.99 Each candle burns for about 4 hours and I use 4 at a time.If I'm home all day I'll refill the loaf pan once in the morning and once in the afternoon. I don't need it at night since our rooms are all upstairs and it stays pretty warm there already. So 8 candles = $0.32/day Plus the $4 I spent on clay pots. I'll need about 2 packs of 100 count tea lights for the month. So this month it'll be $12 and each month after will be $8- not bad!
No comments:
Post a Comment