DIY Hooded Dragon Costume Tutorial

We really like to do themed family Halloween costumes. This year we're doing medieval knights and princesses. My oldest son likes to be different though and really didn't want to do anything like his younger brothers. Finally I convinced him how cool it would be to be the dragon in our theme.
He doesn't like lots of parts and pieces to his costume so he made me promise to keep it very simple and easy to take on and off. Can't believe this 6 year old already has so many demands and negotiating skills!
I took some quick pictures along the way for this dragon costume tutorial.
What you'll need:
-Old sweat shirt or long sleeved shirt to attach cape to.(You could also just make ties for the neck and hands if you don't want to permanently attach the cape to a shirt.)
-1-1.5 yards of fabric. It just needs to be as wide as your child's wing span. Heavier fabric works best.
-2 different colors of felt. You can buy paper size sheets in the craft section of most stores.
-If you plan on lining your cape add material for that. I knew this would be a one night costume so I didn't bother adding a lining.
To make:
1.) Cut your felt into triangle shapes. 2 large triangles for the wings and several small ones for the spikes.
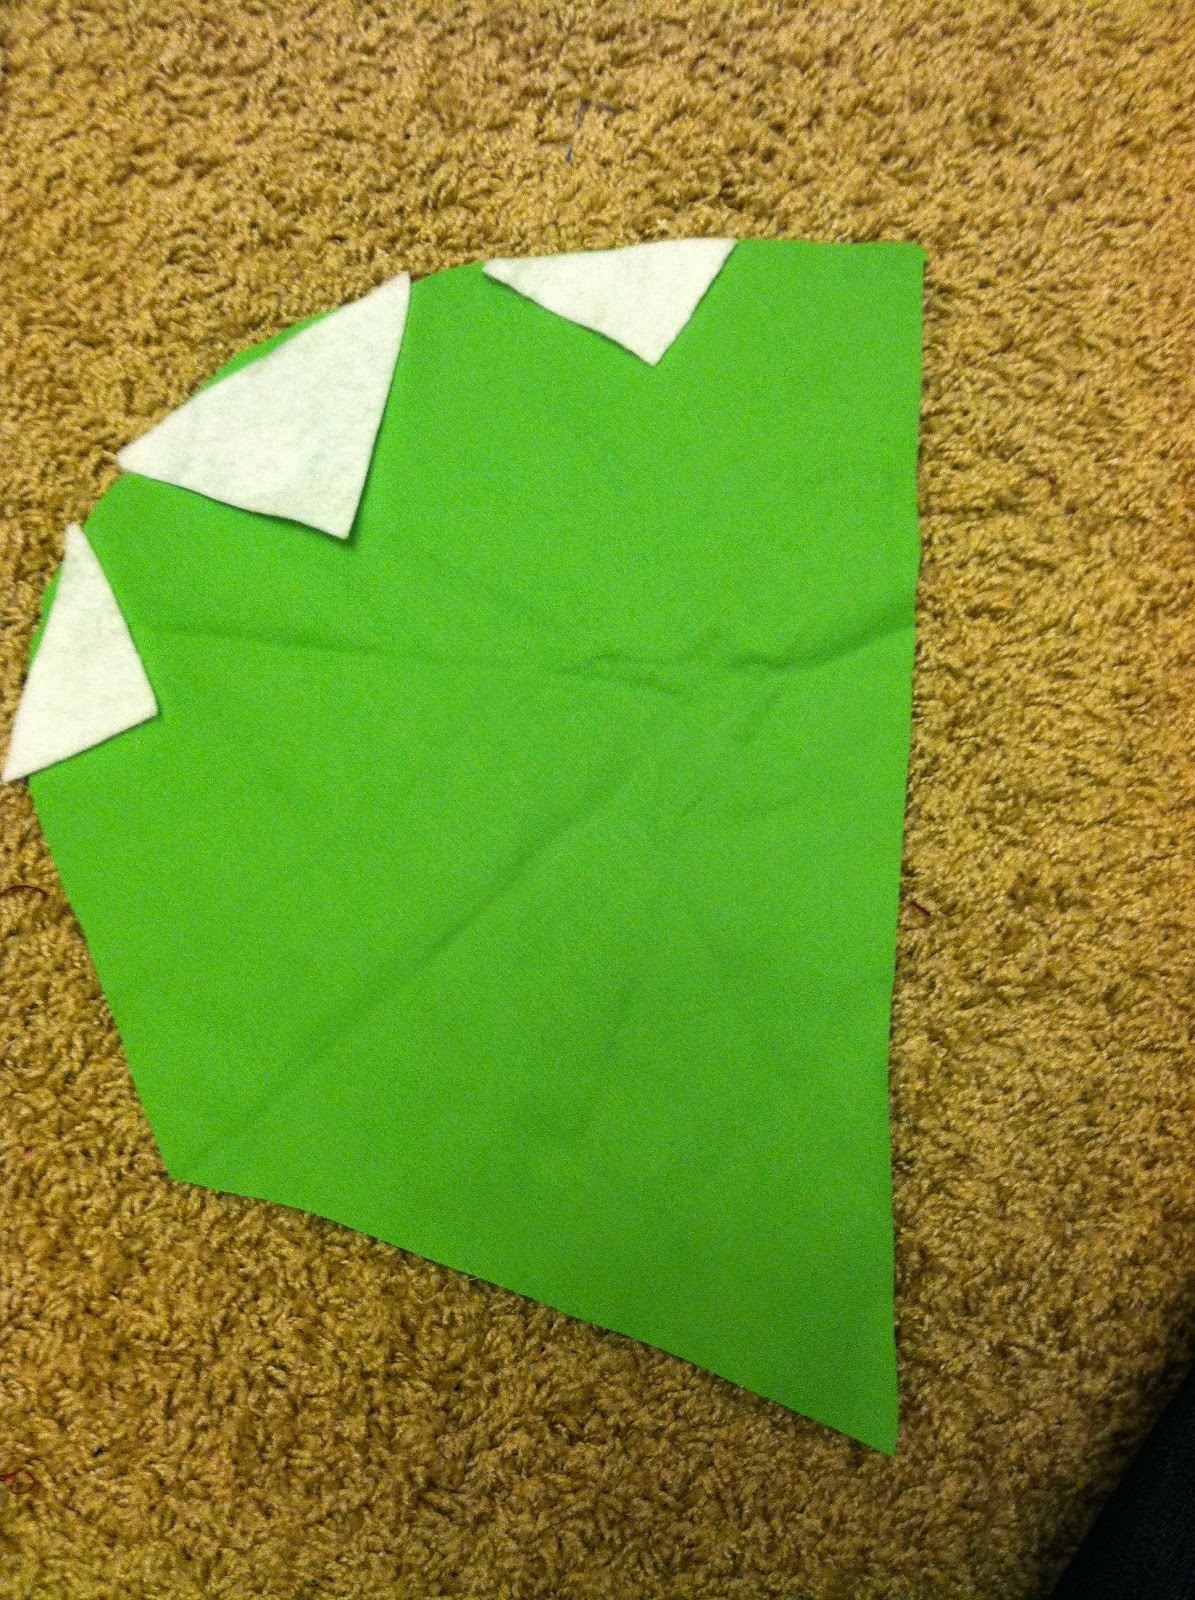
2.) Measure your child's wing span. Cut a curved upside down triangle shape. Save the remaining fabric to make the hood.

3.) Out of the left over fabric you had in step 2 cut shapes like the one below for the hood.

4.) Place a few triangle spikes pointing down around the edge of one hood piece.
5.) Sandwich these triangle spikes with the other piece of the hood and pin together with the right sides of the fabric facing each other.

6.) Sew around curved edge of hood, attaching the spikes to the hood.


7.) Fold the straight edges over two times. Iron the creases or pin this fold to make it stay in place easier. Sew to make hem. Turn right side out.


8.) I didn't do it this way, but after making this I would suggest cutting the cape in half down the center. Sandwich the rest of the triangles down a line pointing in (except 2 that we'll save for the tail) between the cape sides, pin and sew right sides together as shown in steps 4-6 for the hood. You can do the tail and wings at this time too, or you can wait and hot glue them on at the end if that's easier.
9.) Hem around all edges of cape. I didn't hem my top edge since it was a selvage edge and I knew I was attaching it to a sweatshirt anyway.
10.) Since I didn't do step 8 my pictures don't have the spikes on the cape yet. But now you'll attach the hood to the cape. Open up the hood and pin the flat un-hemmed edge to the top edge of the cape. Have the hood pointing down with its wrong side up. The right side of the cape should be facing up.

11.) Sew hood on to cape.

12.) Since I skipped step 8 I had to hot glue my spikes and wings on. Don't forget to add a tail with your left over triangle spikes.


13.) At this point you can sew ties at the neck and hands or you can attach it to a long sleeve shirt or sweater like I did. I was out of time so I quickly hot glued the top edge of the cape along the arm span of a sweater. You could sew it easily too.

All done!


No comments:
Post a Comment