Wednesday, December 3, 2014

Baby Shower Decorations & Games

Christmas Baby Shower Paper Crafts

I wanted the baby shower I hosted for my friend to be fun and festive but didn't want to spend a lot doing it. I think I nailed a cute whimsical feel spending $2 for paper and $4 for favors. I posted about the easy delicious and inexpensive food I served here

To keep the decor easy, cheap and low-stress I put up all my Christmas decorations then just added a few cute shower-fun whimsical touches! 
I made quick cone trees out of printer paper.
Just roll it and glue or tape together.
Trim the bottom so it can stand up flat. 
Then paint with polka dots, stripes, chevron or glitter. My kids had fun helping!
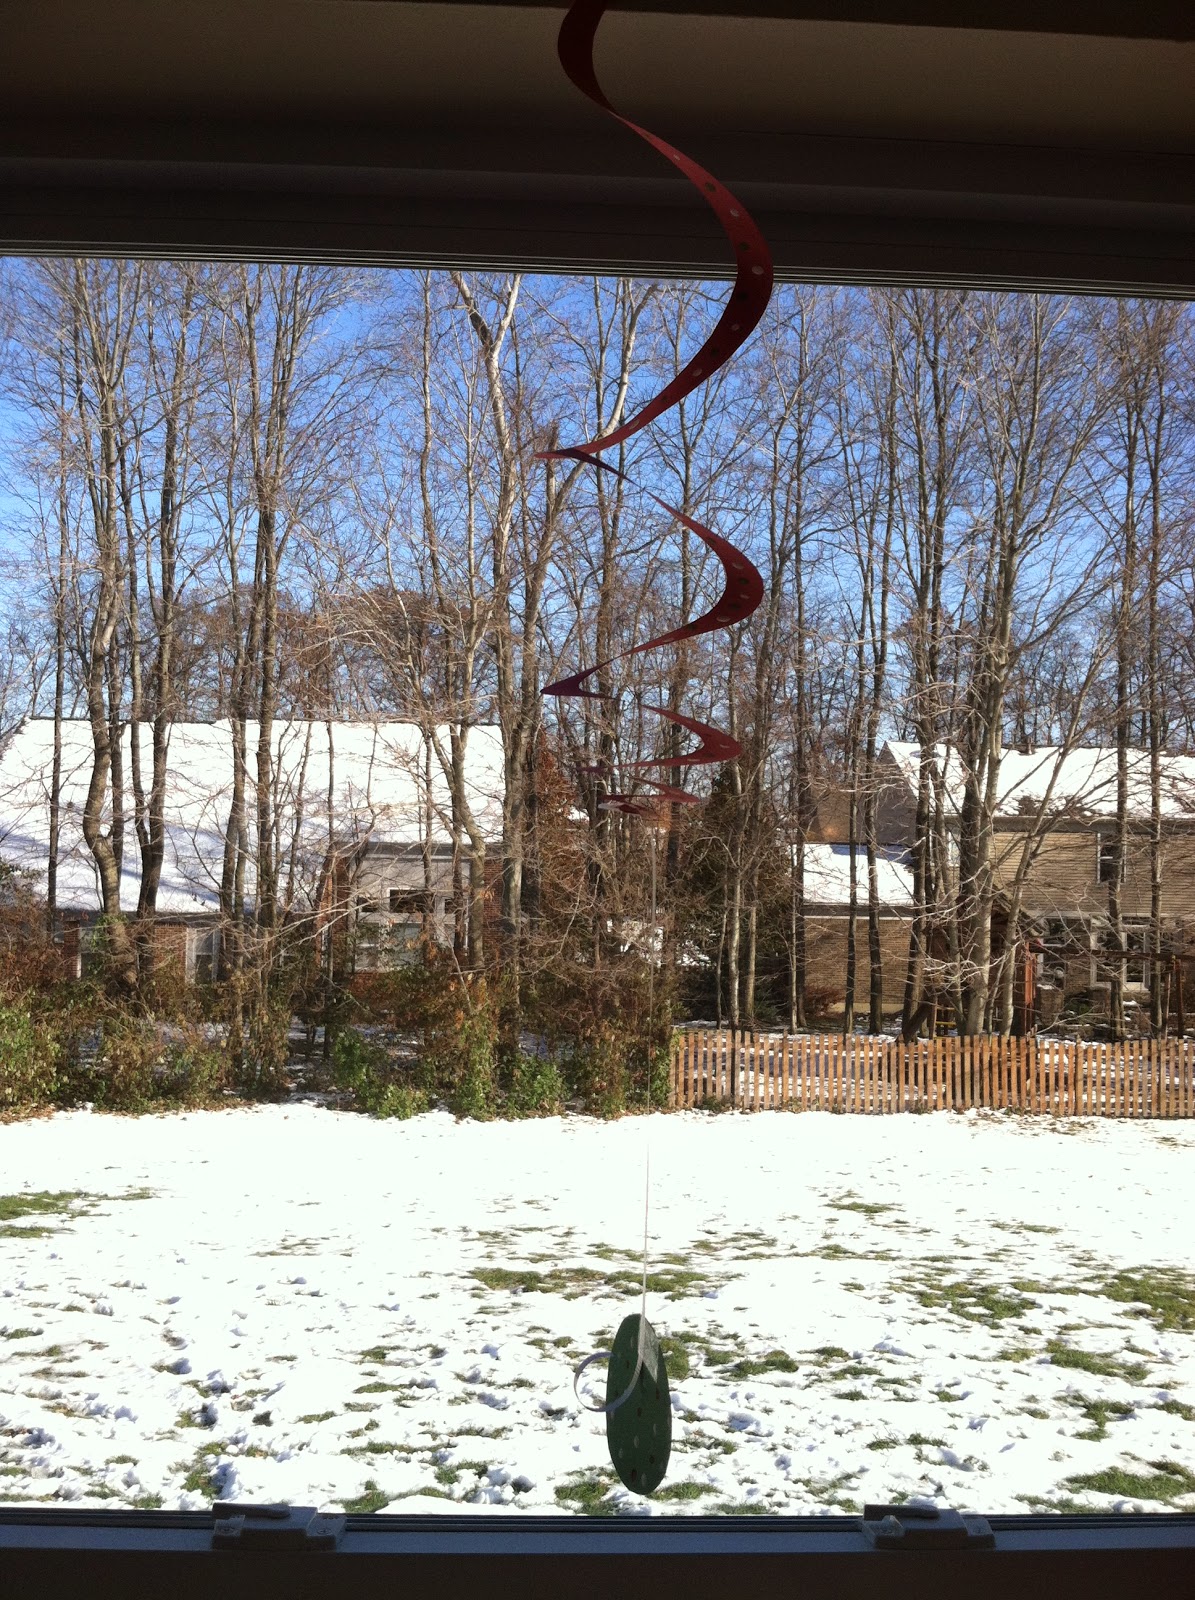
I cut out dozens of different sized circles and painted those too. I taped them to cheap curling ribbon and hung them up above my sink. 
The paper spirals turned out really cute too. I posted a tutorial on how I made those here
For a final quick touch I spiral-cut some extra circles then painted polka dots on them. 
I spent $4 on the favors- 3 6 packs of pine scented candles and a spool of cute ribbon.


I moved my vase of painted pine cones and cute boxes over to the table to add some height variations.


Games

I don't have pictures but the games we played were so cute. First each person put an index card on their forehead and drew a picture of what they thought the new baby would look like. The mamma-to-be voted on which scribbled mess she like the best and that person won a prize.
Next we played "finish the story". We started the story with "Twas the night before the baby was born..." then we each took a turn writing the next line in the story only seeing what the person before us wrote. We had two stories going and the expectant mommy read each of them out loud to us. We all got a good laugh!
We finished off with presents and lots more chit-chatting.

It was such a nice, low-stress, inexpensive party! 

Loved it!


It's beginning to look a lot like Christmas

 It's Christmas in Ohio! 

 And I thought the view out my kitchen window was gorgeous last month!

October
November
My 2 year old woke up sick super early one morning. I had stayed up late the night before and got only a few hours of sleep. But after looking outside at the peaceful sleeping world blanketed in soft white there was no way I could be grouchy! It was breath taking! For the first time it made sense why people would chose to still live in someplace so cold! I guess I won't mind the cold so much anymore, as long as there are gorgeous views like this it's totally worth it!
School got cancelled since we live in an area with lots of rural roads. We spent the whole day bundling then undbundling as they came in and out of the snow, snuggling, drinking hot cocoa, and then finished the night off decorating our Christmas tree!


Believe it or not these pictures weren't even posed! I was busy separating ornaments when I looked up and saw the cutest sight! I'm so happy with how these pictures turned out!


Nothing like a gorgeous snow day to put you in the Christmas Spirit! 

Merry Chirstmas!

Tuesday, November 25, 2014

Paper Decorating- spirals

Card Stock Paper Spirals

(Doesn't have to be card-stock, scrap book or even tissue paper would work too!)

I threw a Christmas themed baby shower for a friend last week and wanted to decorate without spending a lot of money. I happened to have lots of left over bold colored card stock so I went to work creating fun pin-wheel type spirals.
I've seen lots of versions floating around the internet, but this is the way I learned as a kid in school. We used tape and elmers glue back then, but if you've read much of my blog you'll know I don't do any craft without my handy-dandy hot glue gun!
Start off making a square out of your paper by folding it in half to form a triangle then cutting off the excess.
Save this extra piece to make tiny spirals out of or for a guideline ruler as shown next.
Using some of your excess paper make a strip that's aproximately 3/4 inch wide.
Hold the guideline strip in the center of the folded over triangle with one hand as you cut 1/2 inch slits up to the strip's edge. You're starting the slits on the folded side and cutting up towards the open side's tip.
Cut 6-7 slits on each side. Remember the guideline paper is there to stop you from cutting too far into the center.
Try to match the width of the slits equally on both sides.
Now open the triangle up and starting with the two outside slits, pull two sides together and attach with either white glue, tape, stapler or if you want something quick and easy, a dab of hot glue.
Now grab the next two slits and pull them to the opposite side and glue.
Continue gluing the two sides together, alternating the side you pull it to each time.
I left the center piece open for a cool diamond look, but gluing it to itself looks cool too.
After a few large spirals I started to get stingy about my paper so decided to make smaller spirals instead.
Depending on what size you want you could make several spirals out of one piece of paper.
 I wanted to create a whimsical feel so I hung them up with curling ribbon all over my house!
 Don't ask how I got them up here...

Next I'll post the rest of the baby shower decorations!