Sully cake tutorial with baking and decorating tips
My neighbor's son turned 1 this week and she threw a big party for him. She chose a Monster's Inc. theme and it all turned out adorable!
As she was planning she came over to ask for advice on this and that. I asked her what kind of cake she was going to make and she told me she was looking around for a good bakery to make one. I was shocked!
I come from a long line of do-it-yourself-ers and I doubt I've ever seen a store bought cake appear at a family birthday party!
I told her there was no way I'd let her spend a small fortune on a cake and that I'd do it for her instead. She told me what she wanted and although I'd never done anything like it I was excited to have a good reason to practice and learn!
How to Sully Cake
Tips on baking a 12 x 12 cake
A 12 x 12 can be a tricky size to bake. It's easy to burn the edges and leave the inside gooey. I've seen people add a flower nail to the bottom of their pans to help the heat conduct more evenly. But I've always had good luck just adjusting my cooking time.
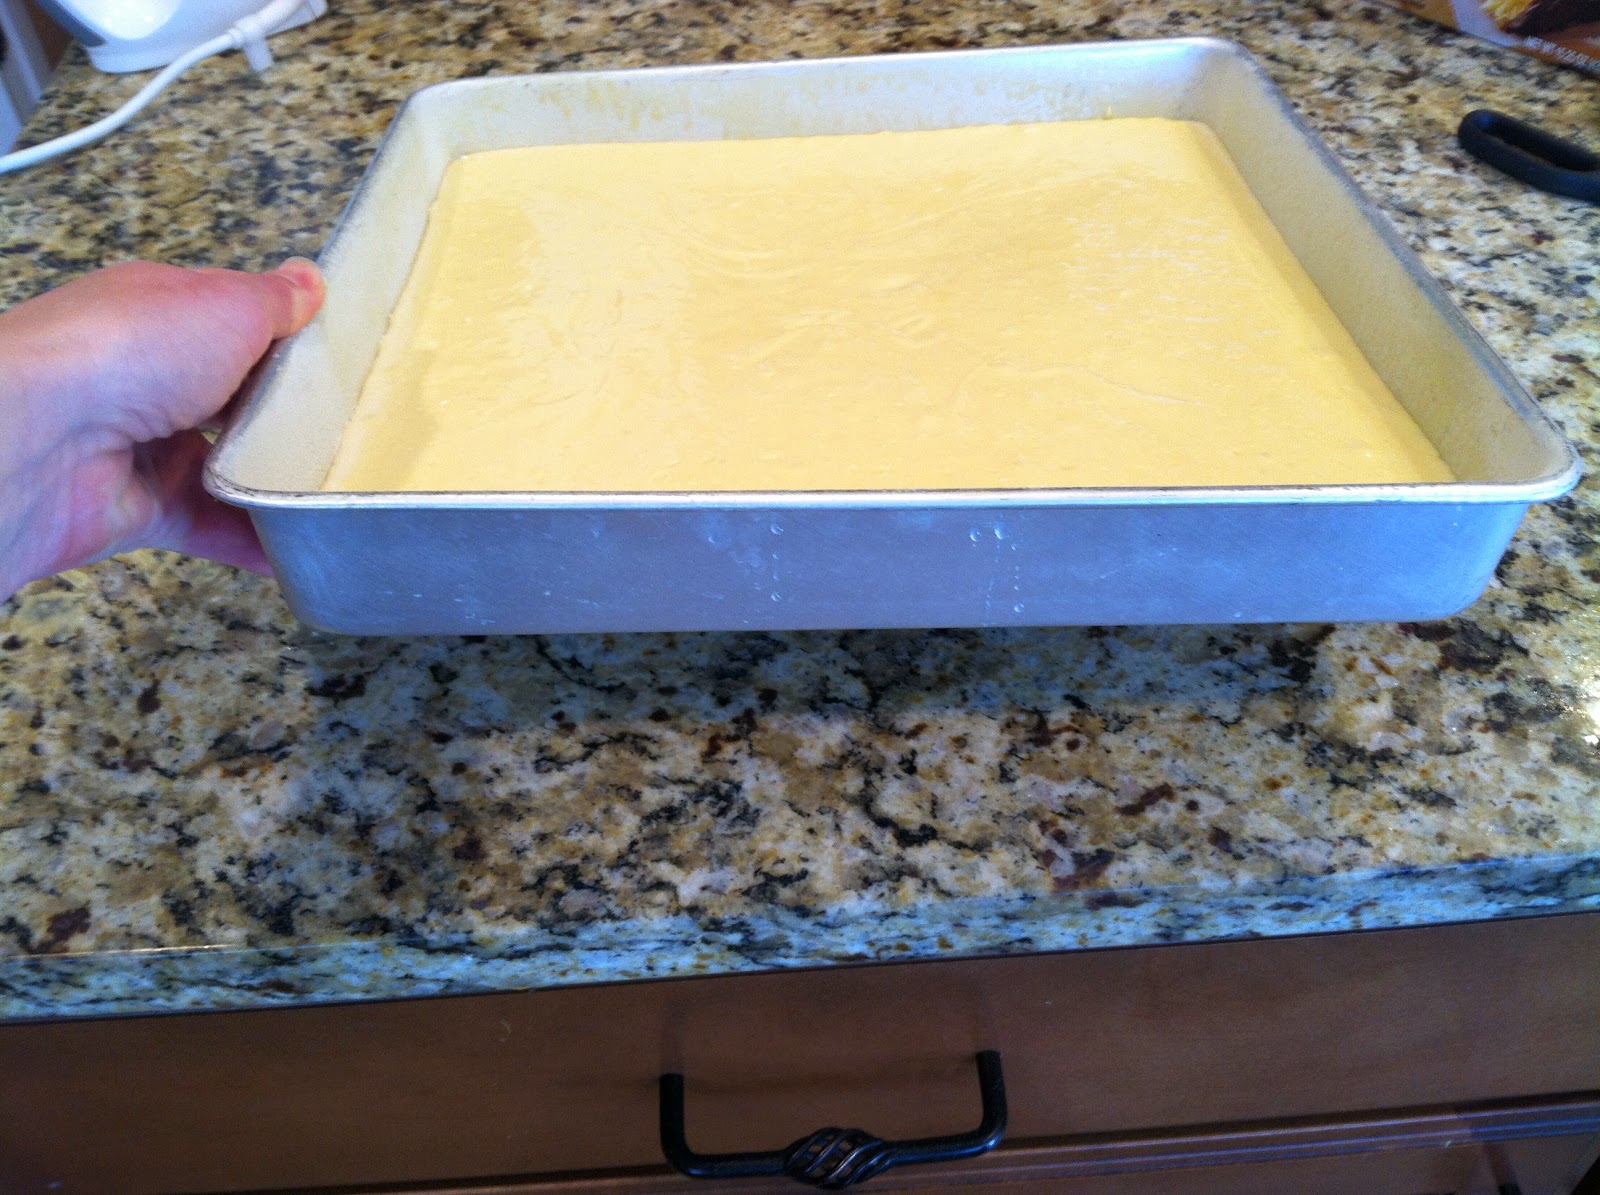
Start off by lining the pan with parchment paper or use the good old fashion technique of spraying the pan with cooking spray, then dusting it with flour.
Hold the pan up and shake the flour by tapping each side to evenly cover the bottom and edges of the pan.
A 12 x 12 pan needs at least 1.5 boxes of cake mix. I made a 2 layer cake and used a total of 3 boxes of yellow butter cake.
To keep the cake from puffing into a big dome in the center I push more batter to the sides and corners away from the center.
Pick up the pan and drop it against the counter a few times to force all the air bubbles to the top.
Bake 47-50 minutes in a 325 degree preheated oven,
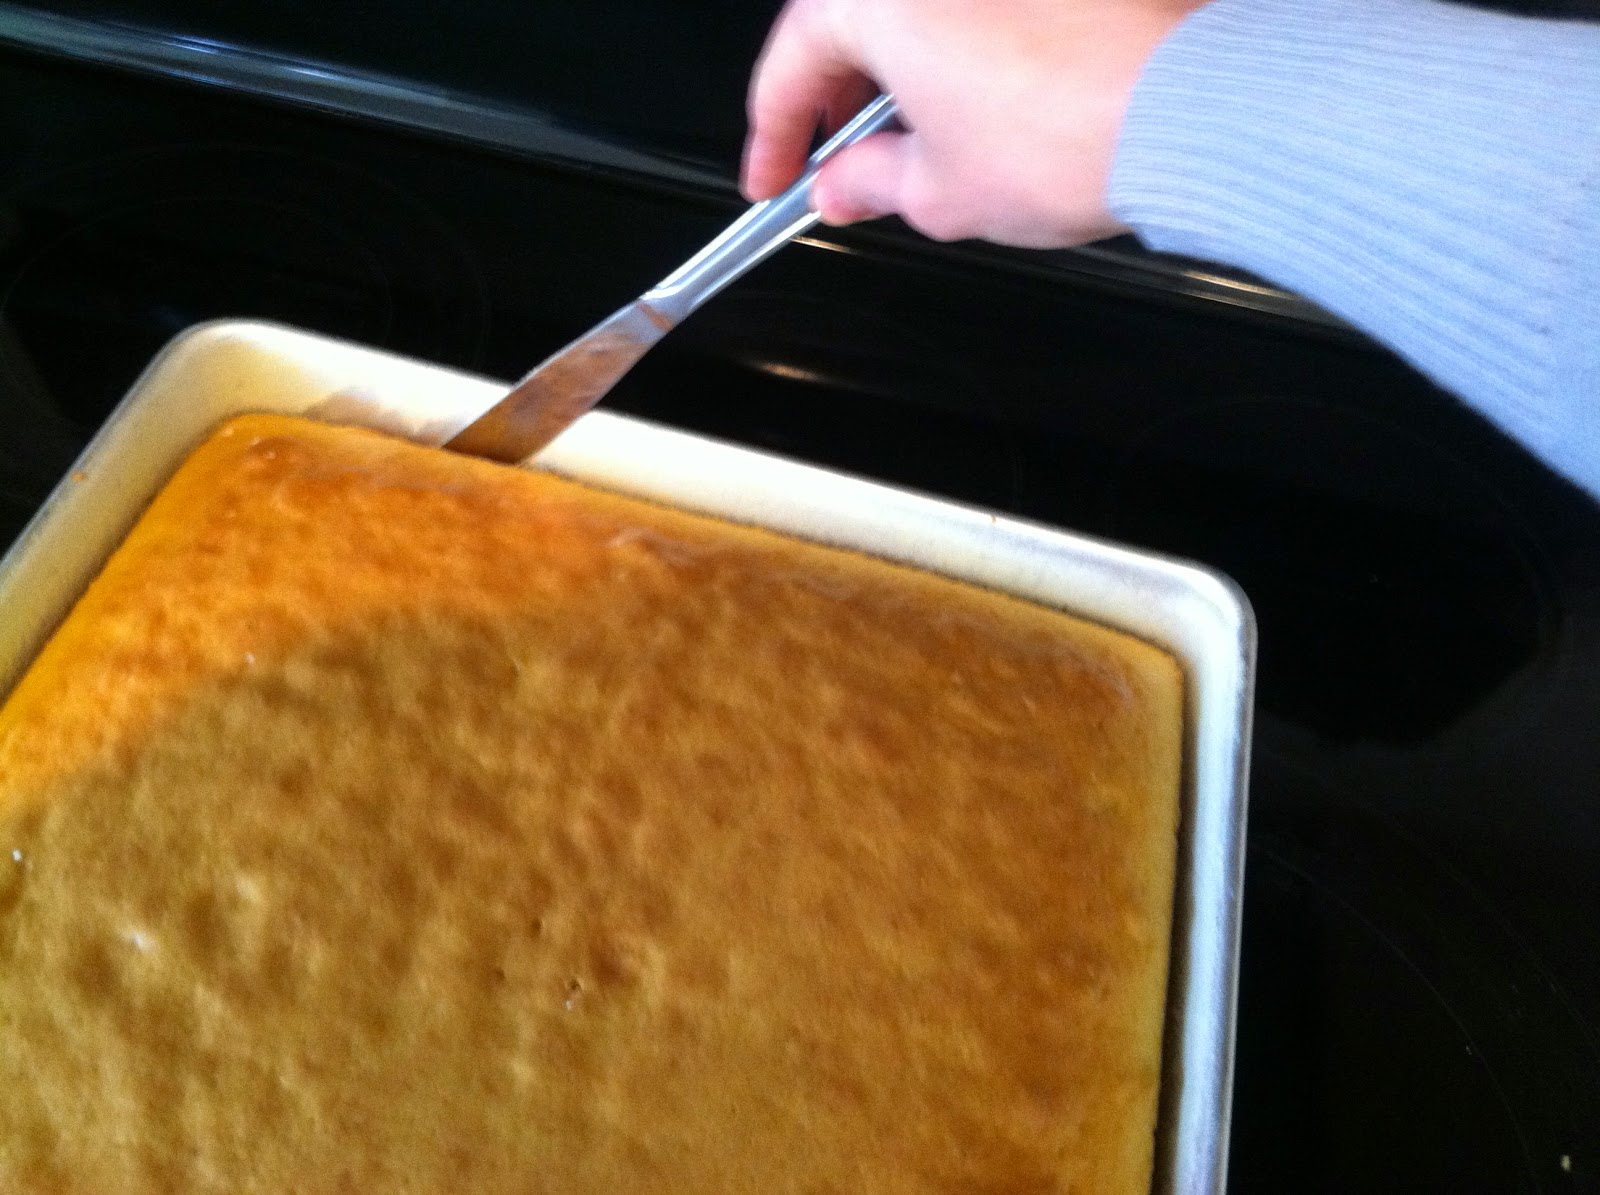
Tap on the top of the cake and see if it springs back up. If you don't trust your judgement with that method use an uncooked spaghetti noodle to test the doneness of the cake (the cake will probably be too deep to properly check with a short toothpick.) If it comes out clean your cake is ready.
Let the cake cool for 10-15 minutes then run a knife along edge of pan, slightly picking up cake as you go and making sure it will release easily from pan.
Flipping over to your hand like you do with most cakes isn't a good idea with one this large. Instead, use a large cookie sheet by setting it on top of the cake then flipping both the cake pan and cookie sheet upsidedown. The cake should release fairly easily if you baked it thoroughly and greased/floured the pan right.
Wash the pan and completely dry it. Follow the grease and flour technique above then cook the 2nd layer.
Refrigerate both layers for a little bit to make handling and frosting easier.
My cakes turned out almost perfectly flat, but for some reason one corner of my oven always cooks different than the others and leaves my cakes flat on that side. If yours isn't even and you're a perfectionist too you can shave off the top with a wire cutter like this or use a sharp knife.
Brush off extra crumbs. Center the bottom cake layer on platter or use a piece of cardboard. (This is part of a pizza box.) Spoon a couple of dollops of frosting or custard on top then spread evenly trying not to stir up too many crumbs.
Add extra frosting to the sides making a small wall around the edges to help fill in the gaps that will come with the next layer.
Set other cake on top and add even more extra frosting around the sides to fill in the gaps.
Fur Frosting Tutorial:
What you'll need:
Tub frosting
Food Coloring (If you buy precolored frosting you won't need food coloring)
1-2 cups powdered sugar per tub of frosting used
Grass decorating tip
Frosting bag
Spoon a few dollops of blue frosting on top of cake.
Spread evenly making a crumb coating. This crumb coating will serve two purposes. It will keep the crumbs out of your final decorating as well as make the space between each fur line less noticeable as it will camouflage in. Crumb coatings should be pretty thin. You don't want to overload on frosting at this point. There's plenty more to come!
Refrigerate for about 20 minutes to help make the next frosting steps easier.
Prepare some purple frosting. I used a tub of Betty Crocker precolored frosting. Empty frosting into a medium sized bowl then stir in about 1.5-2 cups of powdered sugar until it's stiff enough to form peaks.
Prepare a frosting bag by cutting a small corner off the tip just big enough to fit cuppling and tip through. If you feel like you need two hands to load the frosting in put the bag tip down into a tall glass and fold over the top edges. I just drape it over my hand, but it's the same idea.
Load the frosting by spooning into the bag, shaking it down and repeating.
Twist the top of the bag, wrap it around your first finger and use your other fingers to create pressure as you squeeze. "Burp"the bag by squeezing out a small amount of frosting back into the bowl and squeezing hard enough to let the airbubbles out.
To create the "fur" texture with the grass tip hold the tip slightly above the top of cake. Begin squeezing and continue with even pressure as you slightly pull to the side. Release the pressure then pull the tip to the side, up and away to discontinue the stream of frosting. You want the fur to mostly all go in the same direction as if it's combed that way, but still keep it a little messy. The length depends on you. I started with pretty short fur at first then realized how long that would take and ended up redoing the short fur with longer strokes.
Start with the purple spots by makings un-uniform circle shapes.
As you can see my crumb coating was super thin and pretty sloppy. I had to go back and add a thicker layer to my corners and sides which turned out very ugly since my frosting was pretty hard and flaky at this point. But honestly it truly didn't matter. All the fur covered that up anyway.
I'm not gonna lie, this was one of the longest and most painful cakes I've ever made! My hands and wrists hurt sooo bad! My husband jumped in to help for a little bit. Love him!
I probably shouldn't have added quite so much powdered sugar to my frosting. It was extremely stiff and hard to squeeze out. It also became brittle and broke off easily.
Continue the fur frosting technique along the edges. This is a little trickier than the top since gravity liked to pull my frosting down. But eventually we finished it and it was adorable!
My favorite part was having all sorts of neighbor kids running in and out of my kitchen and then gasping as they watched me work! "Wow! It's Sully's back! How are you doing that!? Will you make my birthday cake?" Ya, it made me feel good! Totally worth my aching hands!
Next I'll post about the coordinating cupcakes that went along with this fun cake!


No comments:
Post a Comment