Thursday, October 30, 2014

Hooded Cape Tutuorial

Easy Versatile Costume: Hooded Cape

Capes are the best costume piece! They can go with just about any character and can be used from year to year as part of so many different types of costumes!


A simple cape is no big deal- add a fastener to any rectangle piece of material and viola- instant cape!

But there's something fun about having the extra hood whether you wear it up or let it drape down your back. 

I was nervous at first, but once I gave it a try and realized how simple hoods are I think I might just add them to all my future sewing projects! 

Here's a super simple Hooded Cape Tutorial for you:


1.) Start with a rectangle piece of pretty sturdy material. Cut it to your desired length and width. For this cape I wanted it to reach my husbands ankles and be wide enough to drape over and down the sides of his shoulders. 

2.) Fold the fabric in half lengthwise and curve the bottom edge cutting both layers at a time This will make sure your curve is equal on both sides. 

3.) Hem raw edges.

4.) Next cut the shape of the hood you want. Here's where things get fun. You could make a long and pointy hood, a super oversized drapey one, or a snug to the head one depending on the look you're going for. I chose to keep this hood somewhat shallow in depth but longer from the top to the neck, that way it would almost give a triangle shape on the head when it's up.

5.) Pin and sew right sides of hood together along curved edge.

6.) I didn't line mine so next I hemmed around the face edge of the hood.

7.) Now here's where yours might differ from mine. Because I knew my husband wouldn't be wearing the hood up and I didn't line it I needed to find a good way to sew the two pieces together with a nice seam showing. Generally you would sew right sides together with the hood pointing down. But I decided to pin a hem on the bottom edge of the hood then attach the hood to the inside of the cape and sew the hem and the two pieces together in the same stitching. 

 8.) Attach a fastener. You could use ties, buttons, toggles, or pretty much anything. I used left over trim from some window treatments I made years ago.

When we dress up again for trick or treating I'll take a picture of the back view of the cape. I'm really happy with how well it turned out and I love that I'll be able to re-use this cape over and over each year for pretty much any costume theme we have!


Wednesday, October 29, 2014

Burger AND a side for $1

How to get a hamburger and a side of onion rings for $1.00

Burger King -"have it your way"

 OK, here's a little more insight into just how cheap I am. :)

We rarely go out. Unless we are on a road trip we are just too cheap to eat out.
But when we do we only eat off the dollar menu. All of us. Yes, even my husband. He sometimes orders 2 hamburgers but he doesn't complain. Like me he'd rather spend money on something that will last more than 2 minutes.

Some dollar menus are better than others. 

We try to avoid McDonald's because their dollar hamburgers don't really fill you up.

Wendy's chicken sandwiches are great, especially if you ask them to add tomatoes to it. Their Jr. Bacon Cheeseburger is one of my favorites. Unfortunately over the years they've been raising the price of the JBC and in most locations it's about $1.69, which is still better than most.

Taco Bell's value menu has lots of variety, but it's a tad on the spicy side for my kids and me- yes, I know, we're weak! :)

I think the best value out there though is on the Burger King dollar menu. My husband and I usually order Jr. Whoppers.
Then for our kids we get the Rodeo Burgers, either made with a beef patty or chicken.

The Rodeo Burger is the best- it comes with 4-5 onion rings on the sandwich. Order it without the BBQ sauce and you've just got a plain hamburger (or chicken sandwich) plus a side of onion rings!
I usually ask for a packet of mayonnaise and ketchup to add to it so it's not so dry.


The onion rings are sometimes a little smooshed but my kids love that they get two things. Let them pump their own ketchup to dip them in and they won't even be sad that they're getting a free water as their drink!

So next time you're out give it a try- 


$1 Rodeo Burger - BBQ sauce = hamburger + onion rings

Tuesday, October 28, 2014

No-Sew King costume

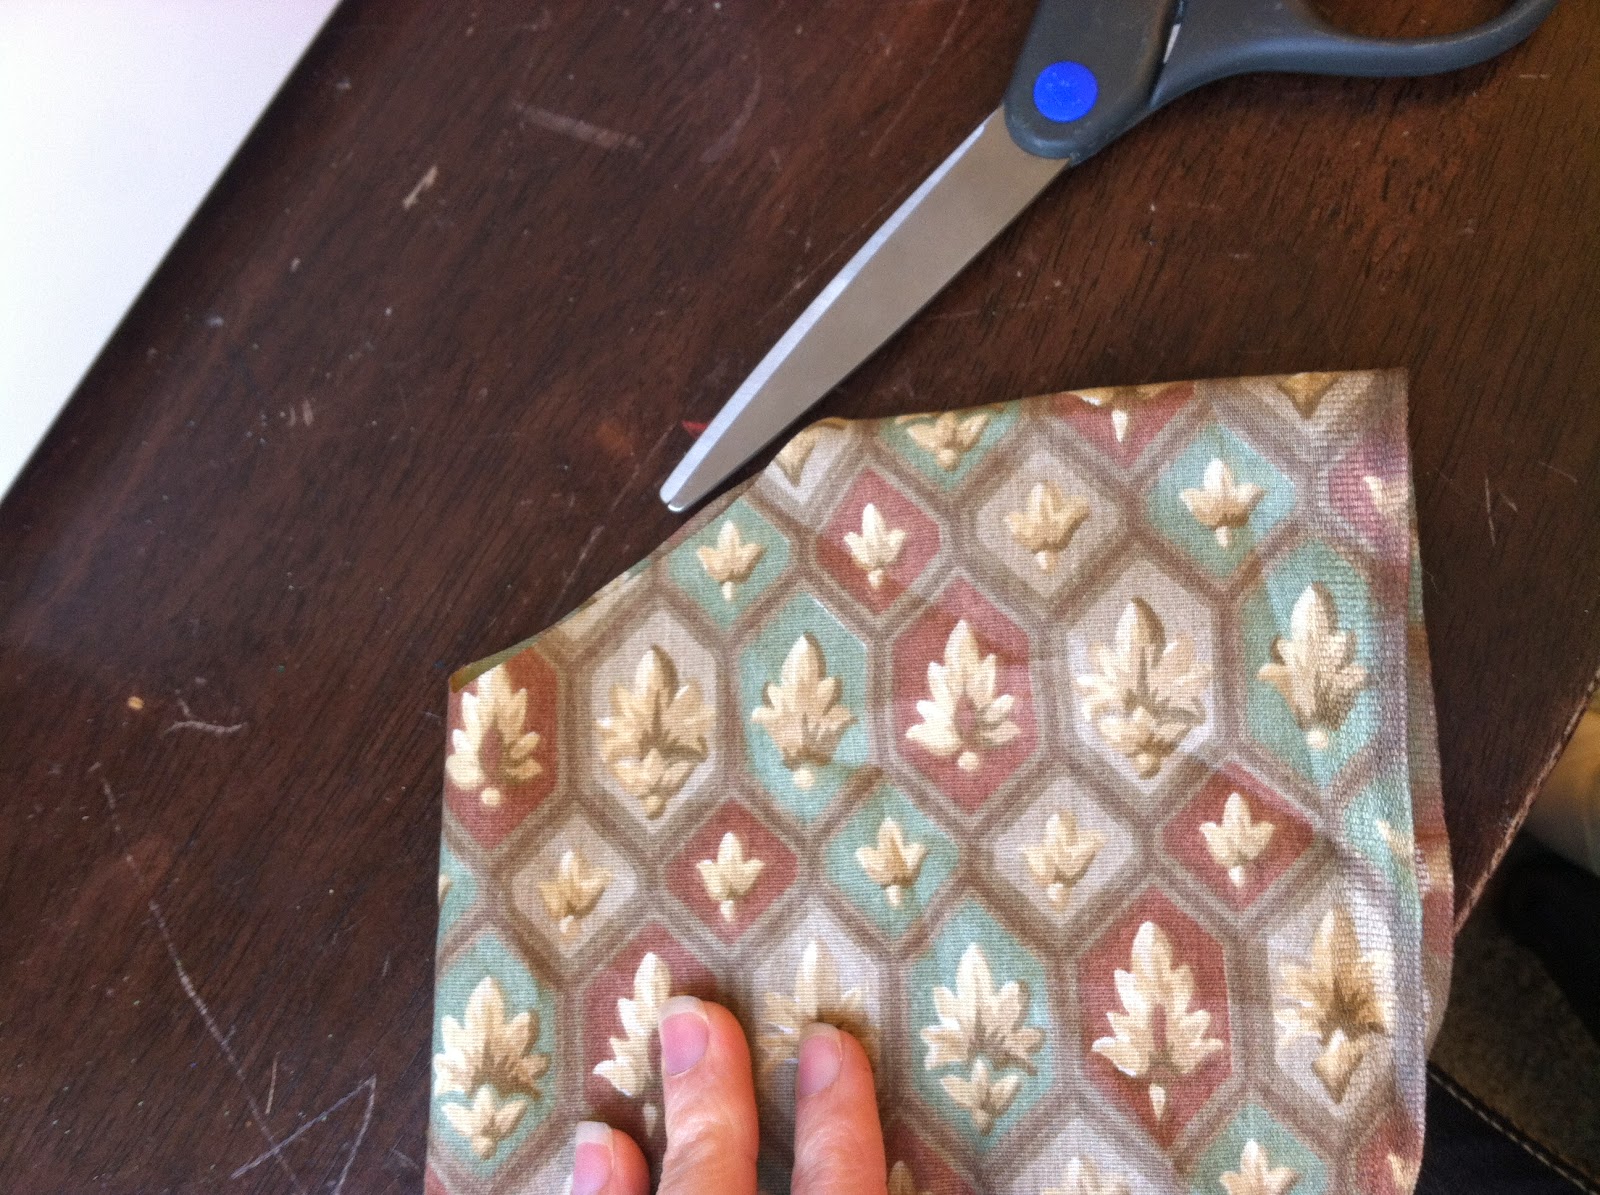
King/Knight Tutorial + Boot Idea

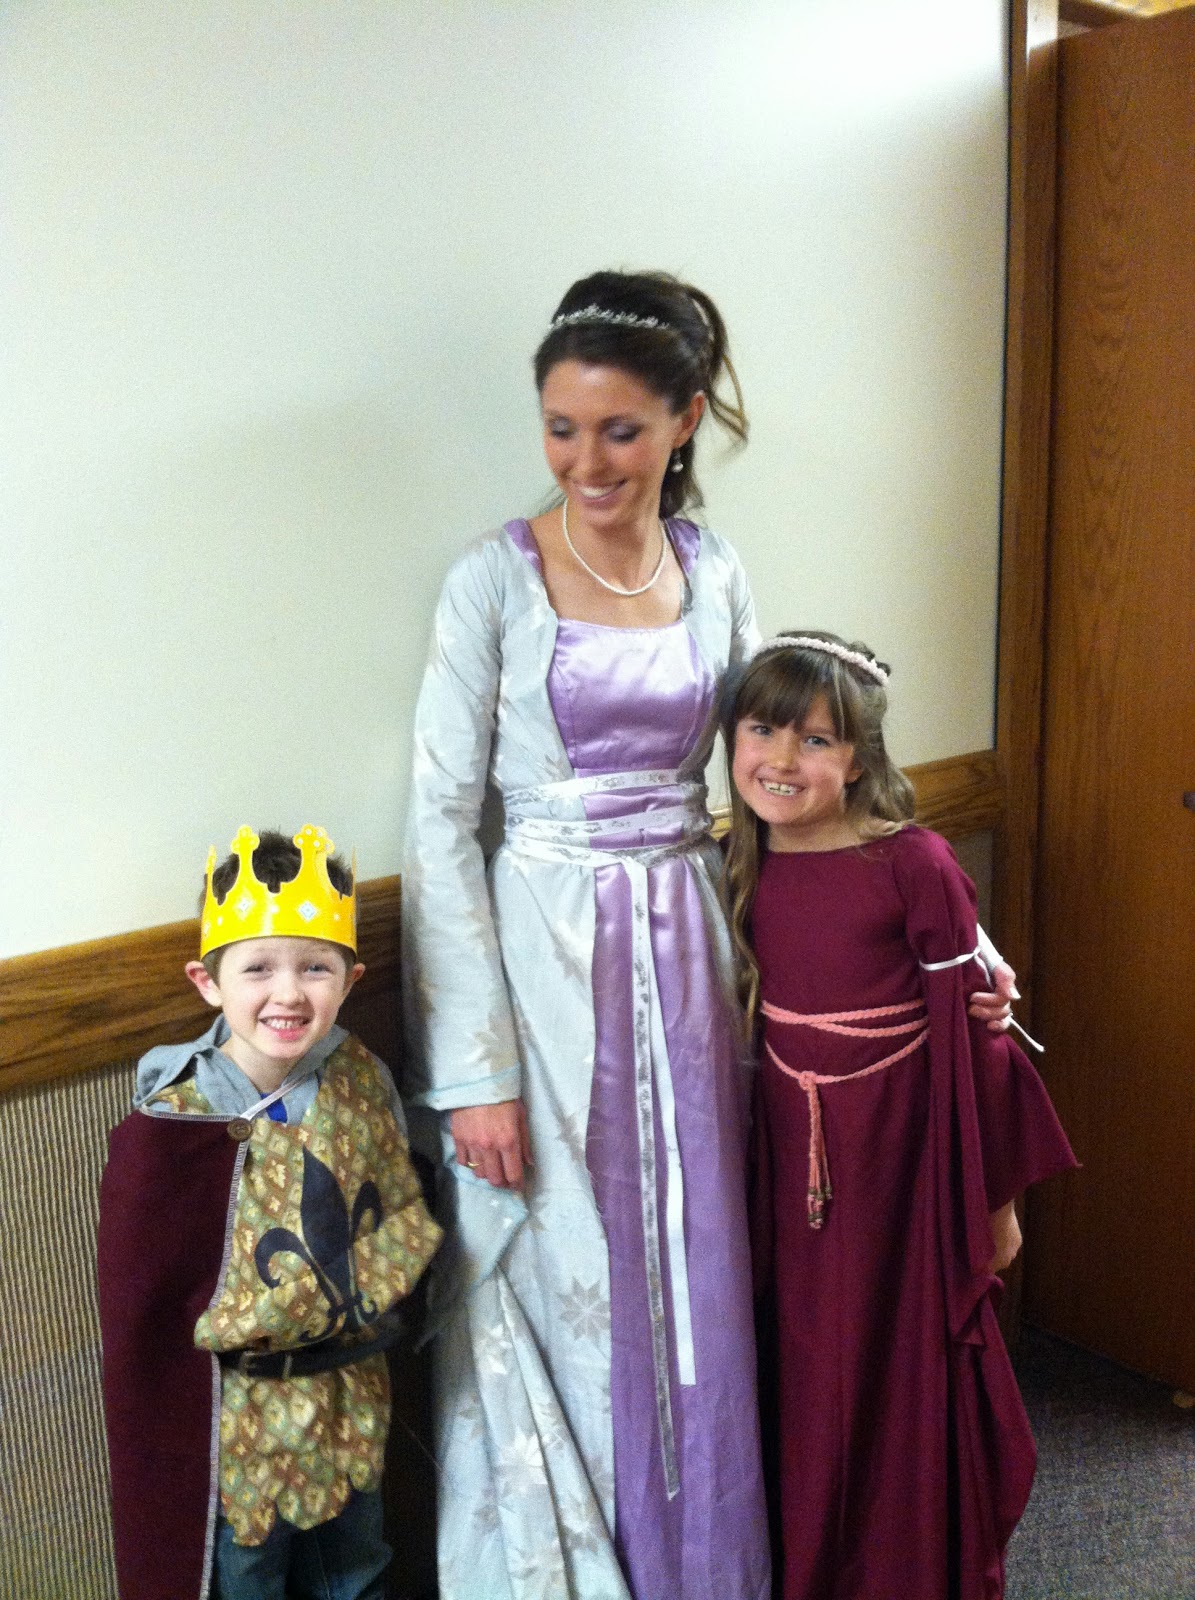
My 5 year old son wanted to be The King of the Family for Halloween.
I pretty much made him a Knight costume and added a Burger King crown.

Here's a simple no-sew (unless you want to hem the edges) costume:


For the Tunic

1.) Start off with a piece of fabric folded over that's as wide as your child's shoulders and as long as their neck to mid-thighs are. My 5 year old was approximately 12 inches wide and 22 inches long. Remember, your fabric is doubled over, so really my rectangle measured 12 x 44 when opened up.


2.) Cut a hole for the neck by folding the fabric in half again this time length wise. Cut a curved triangle shape towards the middle center. (By folding it first and cutting the layers at the same time, you guarantee that your neckline is uniform on both sides.)

 Neckline now opened up. Start off cutting small, you can always increase the hole size if needed. 

3.) Next I added a little bit more shape to the tunic by cutting in at the shoulders slightly. Again I folded it in half first so I could cut both sides at the same time. 
 How it should look when you open it up.

4.) At this point you could be done. I hemmed the bottom edges, but honestly if you're only using this costume for one night and your fabric isn't super fray-ey I might not bother. 


 5.) I didn't feel like cutting out a felt decal for the front so I opted for Sharpie Art again.


Sewing a scalloped edge seemed like a lot of work that I didn't want to put into such a quick costume so I just drew a faux one on the bottom instead. 

For the Cape

1.) Cut a rectangular shape the width and length of your desired cape. Mine was about 25 x 30 inches. 
2.) Hem the raw edges if needed. 
3.) Fold top two corners in slightly and attach 2 buttons and a string as shown. You could do a simple stitch but I just hot glued them on. 


For the Boots

Ready for the easiest boot make over ever?


1.) Get a pair of snow boots.

 2.) Make triangles out of matching felt by cutting rectangles then fold and glue in the sides. Folding instead of cutting into triangles helps the felt be even more stiff and able to stand up on its own.


3.) Hot glue trim or ribbon as desired.


 4.) Attach felt to boots with a small dab of hot glue. (You can peel off the glue when you're done with the costume.)


Accessorize

I rolled up the sleeves of one of my hooded shirts, but if your son has one his size that would be better! Or you could make a quick hood. I used to be afraid of making a hood, but after making two for our other Halloween costumes I see how easy they are and I know you could whip one up in about 30 minutes. Use my hooded cape tutorial from my son's dragon costume. 

We picked up a crown from Burger King but there are tons of great crown ideas on Pinterest if you have more time. You could also just jazz up the Burger King one with tape and tinfoil. 

Add a belt and sword (not in these pictures)

 and you're done!


1, 2, 3 Renaissance Princess Dress Pattern

Easiest Medieval Princess Dress


Our family Halloween theme this year was Renaissance period Knights and Princesses (along with a stubborn dragon).

I found the easiest princess dress pattern and used it for both my daughter and I.
Dress Tutorial by LauraTolton
Source

It has 3 simple steps:

Start with a piece of doubled over from the top fabric wide enough to cover your wingspan and long enough to reach the floor when held up to your neck.

1.) Cut sleeves.  

Lay the large rectangle down (still folded over from the top) and make two cuts starting from the bottom two corners up towards the center middle and stop where the armpits will be leaving enough space for your shoulders. (I didn't leave enough room for mine.)

2.) Cut neckline.

Cut an oval shape in the center of the top for your head to go through. Start small, you can always cut more. I like to fold the fabric vertically and cut from the inner corner to get the most uniform oval shape on both sides when open.

3.) Sew.

Turn dress inside out. Pin sleeve edges together and then pin down the sides of the dress. Sew right sides together. Hem raw edges.

Finish it off with any trim and details you'd like including a long ribbon belt that you can wrap around your waist several times.


 I decided that I wanted my sleeves to be more fitted and not quite as long so I trimmed them like you see below. For my daughters dress I solved this problem with a quick couple bows of ribbon tied at her elbows. 


I cut my sleeves up and in too much so it was too tight for me to even get on! To fix this I just cut the dress straight up the middle and layered it over the top of an old bride's maid dress.